The easy way: using VIAL.
Every Ferris sweep keyboard that I sell comes with VIAL pre-instaled.
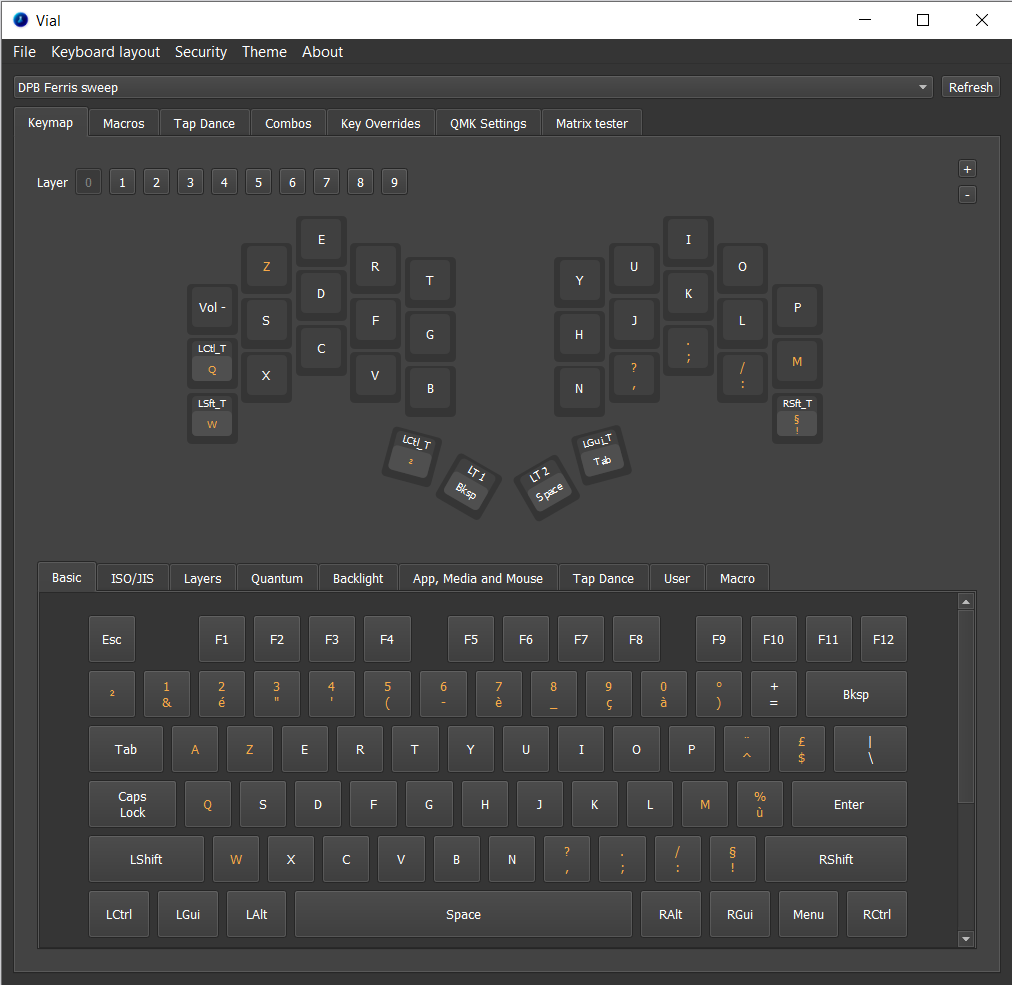
Vial is an awesome open-source user interface for configuring your keyboard in real time. You will just have to select a key, and assign a value. For the Ferris Sweep it looks like this:
You can use it directly with a web browser or download the software.
You can find more information about VIAL on the official website: https://get.vial.today/
Advanced Setup: Compiling QMK (optional).
Why?
You may want to compile your own firmware for several reasons:
- You don't need VIAL features.
- You need another QMK fork (some keyboard layouts provide custom QMK forks).
- You have your own secret reasons.
- You just want to get your hands dirty.
How to setup your environnement?
I would recommend following the great QMK documentation:
https://docs.qmk.fm/newbsYou can use this documentation to peacefully set up your environnement.
How to compile the firmware?
When compiling, you must add a special parameter to build the firmware in the appropriate file format. If you purchased your Ferris Sweep keyboard from this website, it uses rp2040 micro-controllers, so you need the "promicro_rp2040" converter (more info on QMK converters here)
You compilation command should look like that:
qmk compile -e CONVERT_TO=promicro_rp2040
This will generate a .uf2 file. Now you need to upload it to the two parts of your keyboard.
How to flash the firmware?
To flash the .uf2 firmware file, you need to trigger the bootloader mode. This is simple: you just have to double-press the reset button (press it two times in succession).
The reset button is located next to the microcontroller, between the thumb keys.
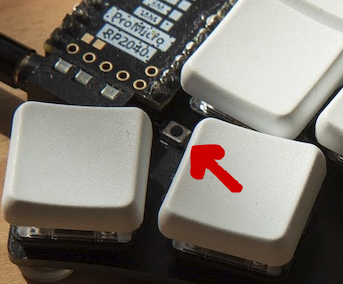
This is the reset button.
Your keyboard will then appear as a storage on your computer. You will see two files (INDEX.HTM and INFO_UF2.TXT), you can leave them here. They are just here to give you some information about the controllers. You can now drag and drop your .uf2 file to the RPI-RP2 folder.
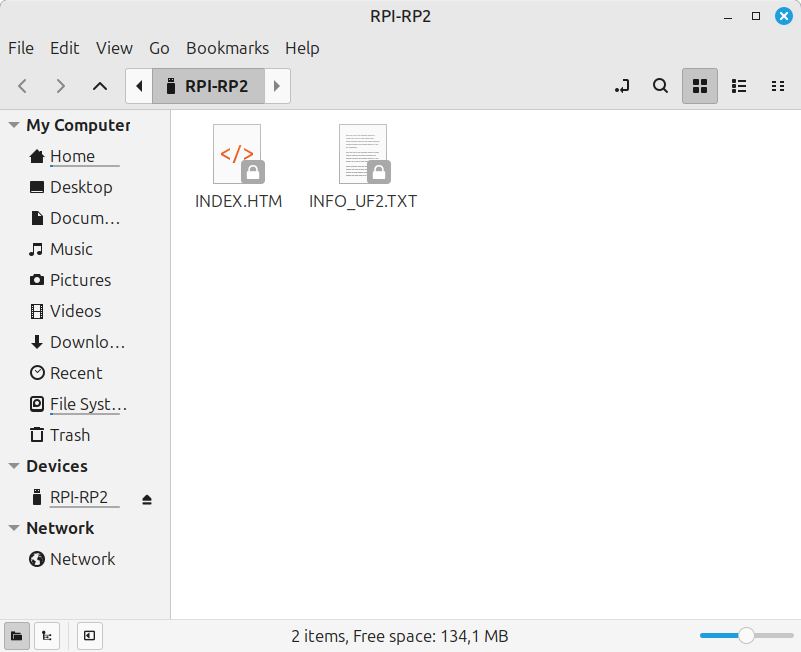
The micro-controller appears as a storage.
You can flash the two keyboard parts one by one. First trigger the bootloader mode on the part that is connected with USB C to the computer, and flash the microcontroller. Then unplug the USB C cable, and plug it to the second keyboard part. Repeat the flashing.
And there you have it! You've just installed QMK on your keyboard, congratulations! 🎉
